Getting Started
Create a Pricing Page
Our step by step guide to creating your first Stripe Pricing Page with PriceWell
Create your first Pricing Page
First, log in to your PriceWell account. You will be taken to the dashboard.

Click “create" -> “Pricing Page”. This will take you to the pricing page wizard.
Select your Pricing Plans
The first step is to select which plans you want to display on your pricing page. Your test mode products will be pulled automatically from your Stripe account. Don’t worry if you don’t have any yet, you can click the Create Products button at the bottom of the page to create new Stripe Products.

Here, I’m going to select the “Startup Plan”.

Click “Payment Flow”.
Choose your Payment Flow

PriceWell offers two different flows for your pricing page.
Charge Immediately
This means customers who click the “Get Started” button will be taken to the checkout immediately and asked for the credit card details and taken to your Success Page.
Use case: charge immediately
You want to display pricing on your landing page and collect payment before sending customers to your registration page.
Charge Later
This means customers will be taken to a page (url) of your choice and you can choose at what point you send them to checkout and add their credit card details.
Use case: charge later
You want to implement a freemium business model where customers create a new account and use your software before choosing to upgrade their account at a later date.
Success and Failure Pages
In order to continue, you need to specify where the customer will go if their payment was successful or failed.
Success Page
This should be a full website url (usually one of the pages on your site) where the customer should go when their payment was successful. When a customer is sent to this page their subscription (or one-off) payment was valid.
Example: https://wwww.mysite.com/payment/success
Failure Page
This should be a full website url (usually one of the pages on your site) where the customer should go when their payment was not successful. When a customer is sent to this page their subscription (or one-off) payment failed or they clicked the “Back” button during checkout.
Example: https://wwww.mysite.com/payment/failure
Button Link (only for Charge Later)
When you choose the Charge Later flow, you need to provide a link where the customer will be taken when they choose one of your pricing tiers (as they will not be taken directly to checkout). This is usually the registration page of your application.
Example: https://wwww.mysite.com/register
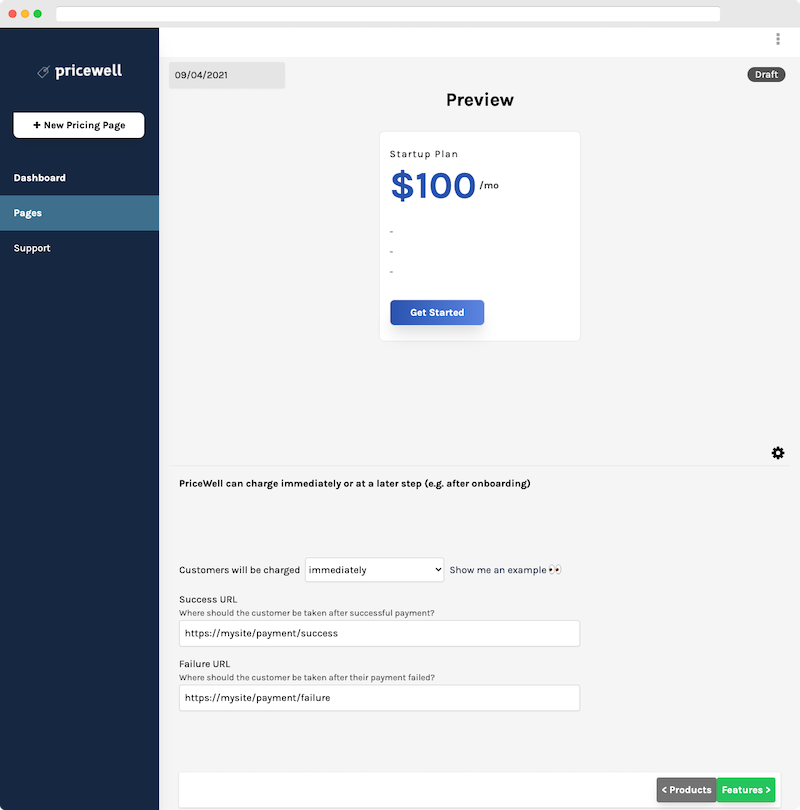
Here, I’m going to choose “Charge Immediately” and enter my Success and Failure pages.
Click “Features”.
Adding Features

No pricing page is complete without adding features to your pricing plans. From this screen, you can change the content for each of your plans. Choose the plan from the dropdown.
- Name
- Description
- Features
- Button text
