Features
Displaying Pricing on your Landing Page
Learn how to re-use your pricing table to display
In this article, we’ll show you how to re-use your PriceWell pricing table to display pricing on your landing page. This allows you to update your pricing in a single place.
Pricing on the landing page
It’s common for SaaS products to display their pricing on the landing page. They do this so potential customers can decide upfront whether the app is right for them and whether there’s a pricing tier that fits their needs.
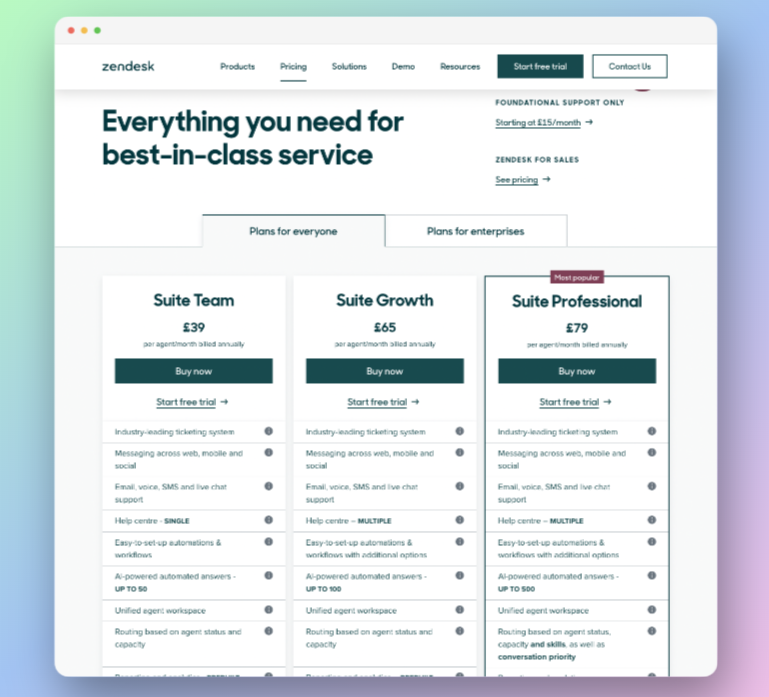
It’s not common to ask for payment at this point. Instead SaaS products often ask the person to register an account and only ask for payment at a later date.
Re-use your Pricing Table
Using PriceWell’s Pricing Table feature you can configure your pricing in a single place and never worry about updating your pricing in multiple places (marketing site, app etc).
Using the code snippet
If you are using the code snippet, simply add
data-button-link="https://app.mysaas.com/register"
to your code snippet. And all buttons on your pricing page will link to your chosen page (i.e. your registration page).
If you want to know which product was clicked on you can add a parameter to the link
data-button-link="https://app.mysaas.com/register?plan={{PLAN_ID}}"
Note: {{PLAN_ID}} will be replaced automatically by PriceWell.
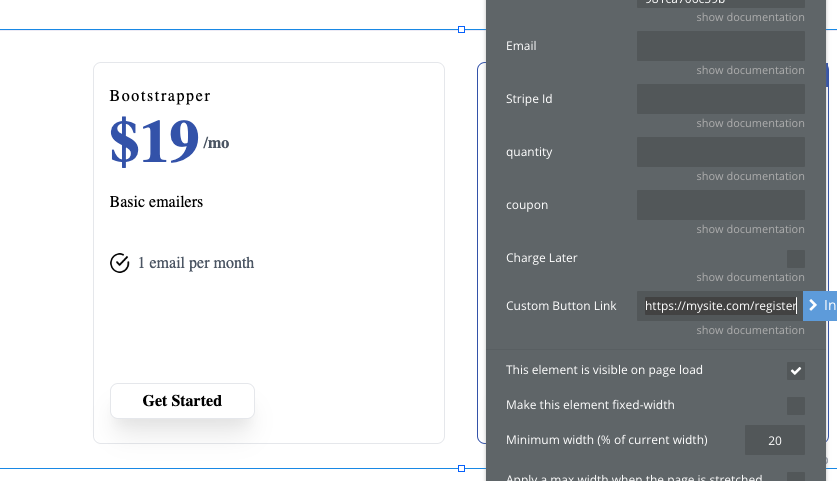
Using the Bubble Plugin
If you are using the Bubble plugin, drag the Pricing Table component into your landing page, paste the Page Id as normal and add a Custom Button Link
In your application
When a customer lands in your application and registers an account, you have two options:
- Display the Pricing Table for them to choose a plan (remember to remove
data-button-linkfrom the snippet) - Send them directly to Stripe Checkout using the following snippet:
In the <head> tag of your page include the following snippet
<script src="https://snippet.pricewell.io/checkout.js?mode=test" async="async">
<script>window.pricewell.checkout(PRICING_PAGE_ID_HERE,null, email:"CUSTOMER_EMAIL_HERE", name: "CUSTOMER_NAME"});</script>
Replace the following:
- PRICING_PAGE_ID_HERE with your Pricing Page id (copied from PriceWell)
- CUSTOMER_EMAIL_HERE, the email address of your customer
- CUSTOMER_NAME, your customers name (optional)
- null replace this with the Plan id if you included it in the button link (using
new URLSearchParams(window.location.search).get('plan')).